It was 1910 when pastry chef Louis Durand created upon request one of the most famous French desserts of all time, the Paris-Brest. The request came from the organizer of a popular “Paris-Brest-Paris” bicycle race (which still exists today but is only open to amateurs) who wanted a dessert to be served at the arrival. I attempted to recreate it in October 2017 upon the request of my very french coworker. (for the records, it got high praise from him, so I must’ve done it right.)

Today’s post is not about the very french Paris-Brest, but more about one of its very French ingredients, the Praliné.
The Praliné is widely used in France. It adds so much to a dessert from sweetness and crunchiness to flavor. It’s basically a thick paste, that can be thinned out depending on what you’re using it for, made with caramelized roasted nuts. The most common recipe includes almonds and hazelnuts in a 50/50 ratio, but you can mix whatever varieties of nuts you would like. (Use all hazelnuts like my recipe here, make it from pistachios…)

How can you use it? You can use Praliné in so many ways:
- Thin shards of Praliné can look beautiful on a cake or dessert. That’s if you’re using it the same day, caramel does not like moisture so it becomes sticky if left out for too long.
- Praliné dust sprinkled on cakes, ice cream or desserts.
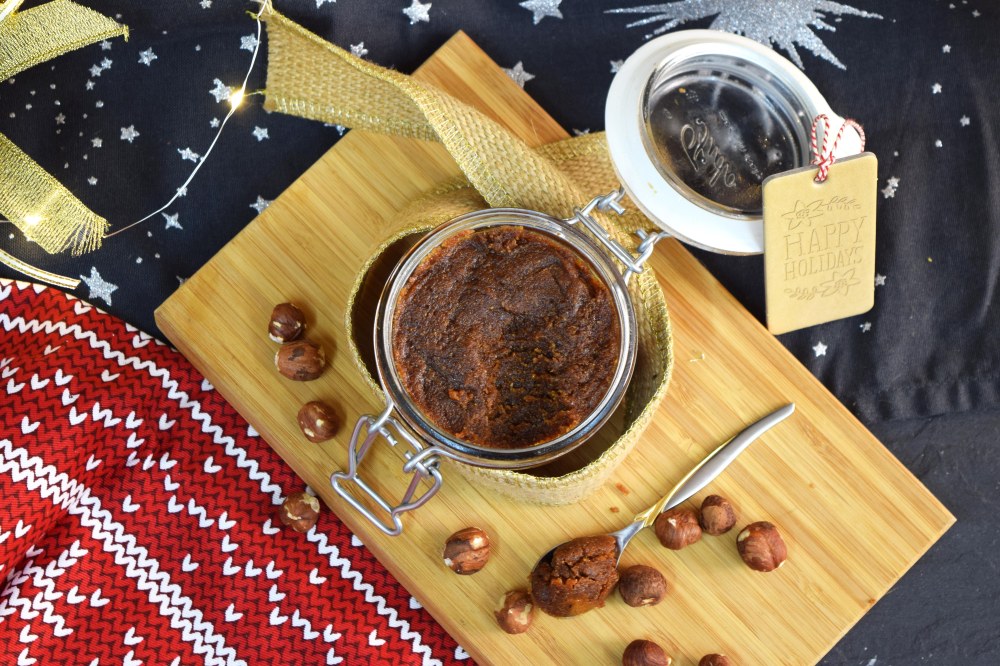
- Praliné Paste that you can flavor buttercream with or any other kind of filling, ice cream, yogurt, spread it on toasts or cakes, eat it with a spoon.
There are Five basic steps for this, and you can stop at Step 3 depending on what you’re going to be using them for.
First, start off by roasting the nuts, this is VERY important because roasting them really intensifies their flavor. Second, caramelize the sugar before the adding the nuts into them. Third, spread them on a baking sheet to cool. Now you can choose to break them into shards for toppings, or transfer them to a food processor. First couple of pulses will turn them into praliné dust. To turn them into paste, all you have to do is carry on with the blitzing process until the oil from the nuts starts to separate out. At this point you can add an extra tablespoon of nut or vegetable oil to the mixture and carry on blitzing until you have a thick paste.
If you REALLY want to go the extra mile, try adding melted chocolate to make your own homemade Nutella.

Store it in an air-tight container and you’re all set for upcoming yummy adventures, like the upcoming post where I use this very French ingredient to make a very French dessert (no, it’s not a Paris-Brest).
You can leave it at room temperature but make sure to stir it from time to time (once a week), you’ll be able to keep it for a few months.
2017 Christmas Bakes:
Day 1: Mocha Biscotti
Day 2: Homemade Spiced Chai
Previous Christmas Bakes:
One Year Ago: Almond Linzer Cookies
Two Years Ago: Chocolate Cut-out Cookies
Three Years Ago: Snowball Cookies
Hazelnut Praliné Paste
Makes 200 Grams Paste
Ingredients
- 150 grams whole hazelnut
- 1/2 cup (100g) sugar
- 2 tbsp (30ml) water
- pinch of salt
- Roast the Nuts Preheat oven to 150C. Place the nuts on a baking sheet and let them roast for 15 minutes.
- Transfer the toasted nuts onto a clean kitchen towel and rub the nuts to remove as much skin as possible. Let them cool completely.
- In a small saucepan heat sugar and water over medium high heat until foamy and bubbly. If you have a candy thermometer, it should read 120C. Stir in nuts. The sugar will crystallize which is completely normal. Don’t freak out and just keep stirring and the sugar will melt again and start to brown and turn into caramel. Transfer the praline to a baking sheet to cool completely.
- Break the praline into smaller pieces and add to the bowl of a food processor.
- Grind in a food processor. You can stop when it turns into dusty sprinkles, or continue pulsing until it becomes a thick paste, for about 10 minutes. Add a tablespoon of oil if you want to loosen it a bit.
- Refrigerate until ready to use.
Bon Appetit 🙂

3 Comments Add yours